> ## Documentation Index
> Fetch the complete documentation index at: https://help.pixwel.com/llms.txt
> Use this file to discover all available pages before exploring further.

# Getting Started

> Your first steps in Pixwel — navigating the platform, reading asset symbols, building contact lists, and when the production team is available.

New to Pixwel? This guide covers the basics: finding your way around, understanding the symbols on assets, setting up contact lists, and knowing when help is available.

## Basic navigation

A few features make moving through the platform fast:

* **Instant search** — start typing and matching results appear in real time.
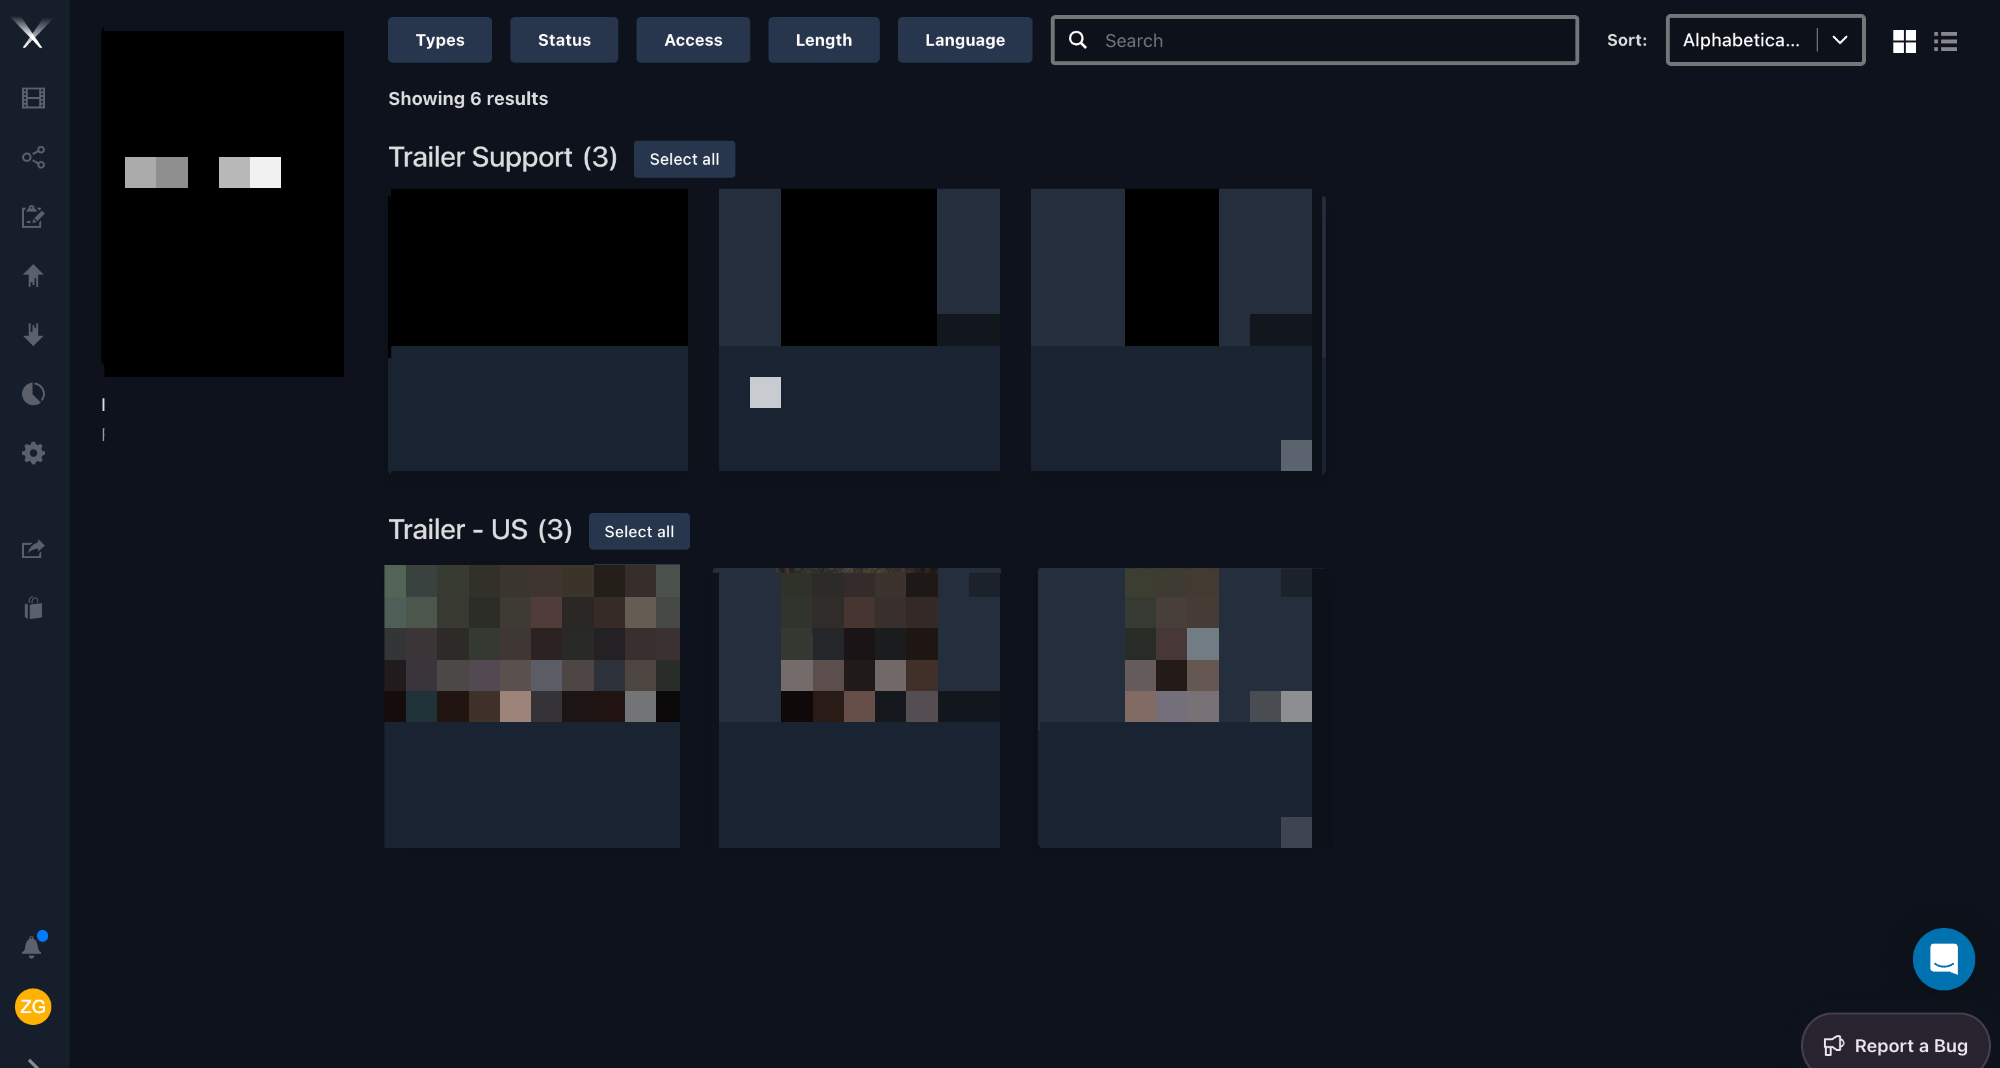
* **Campaign view** — see an entire [project](/features/projects/overview) at once. All [asset types](/glossary) show by default; search and filter to customize the view.
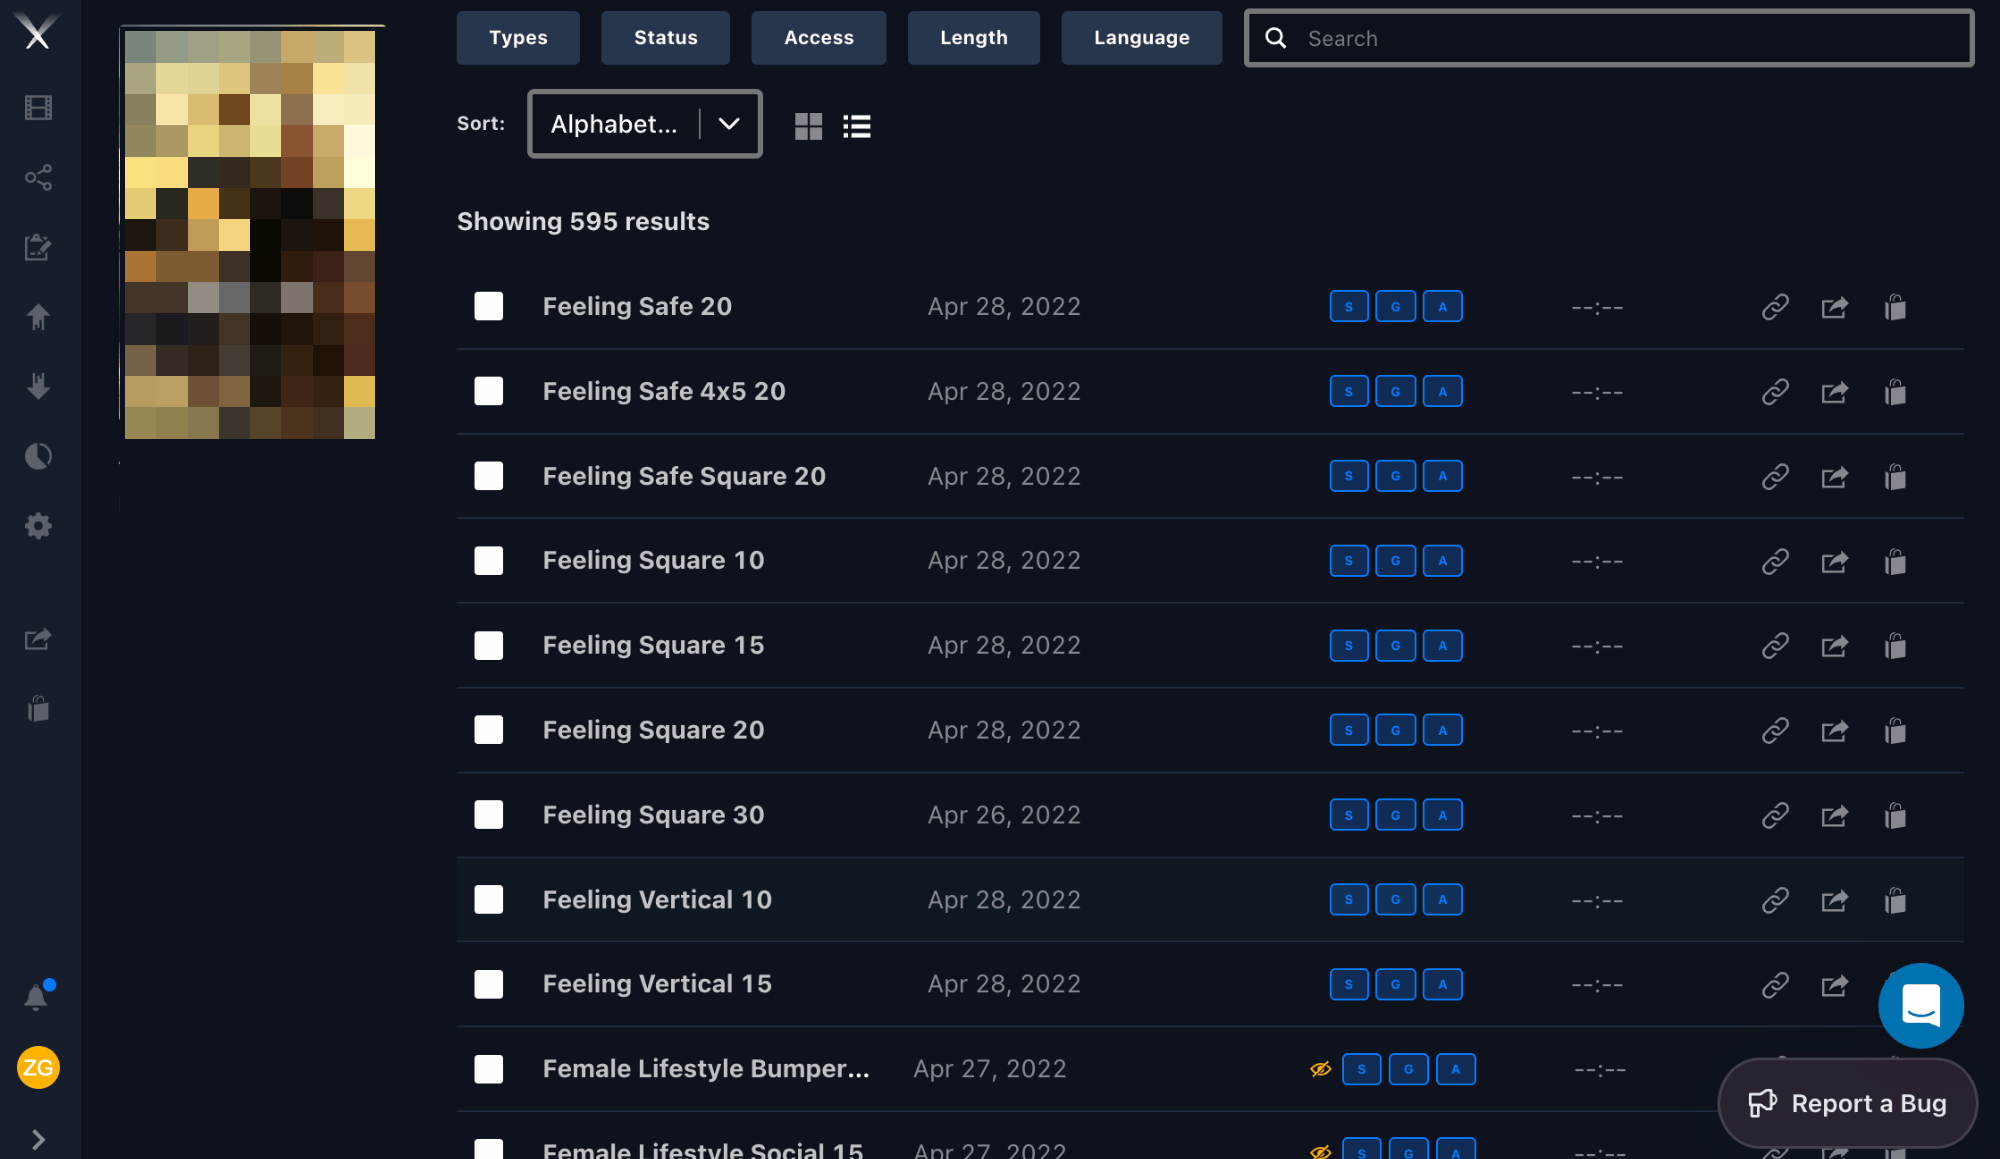
* **List view** — a denser layout with smaller thumbnails and more detail per row, if you prefer lists to tiles.
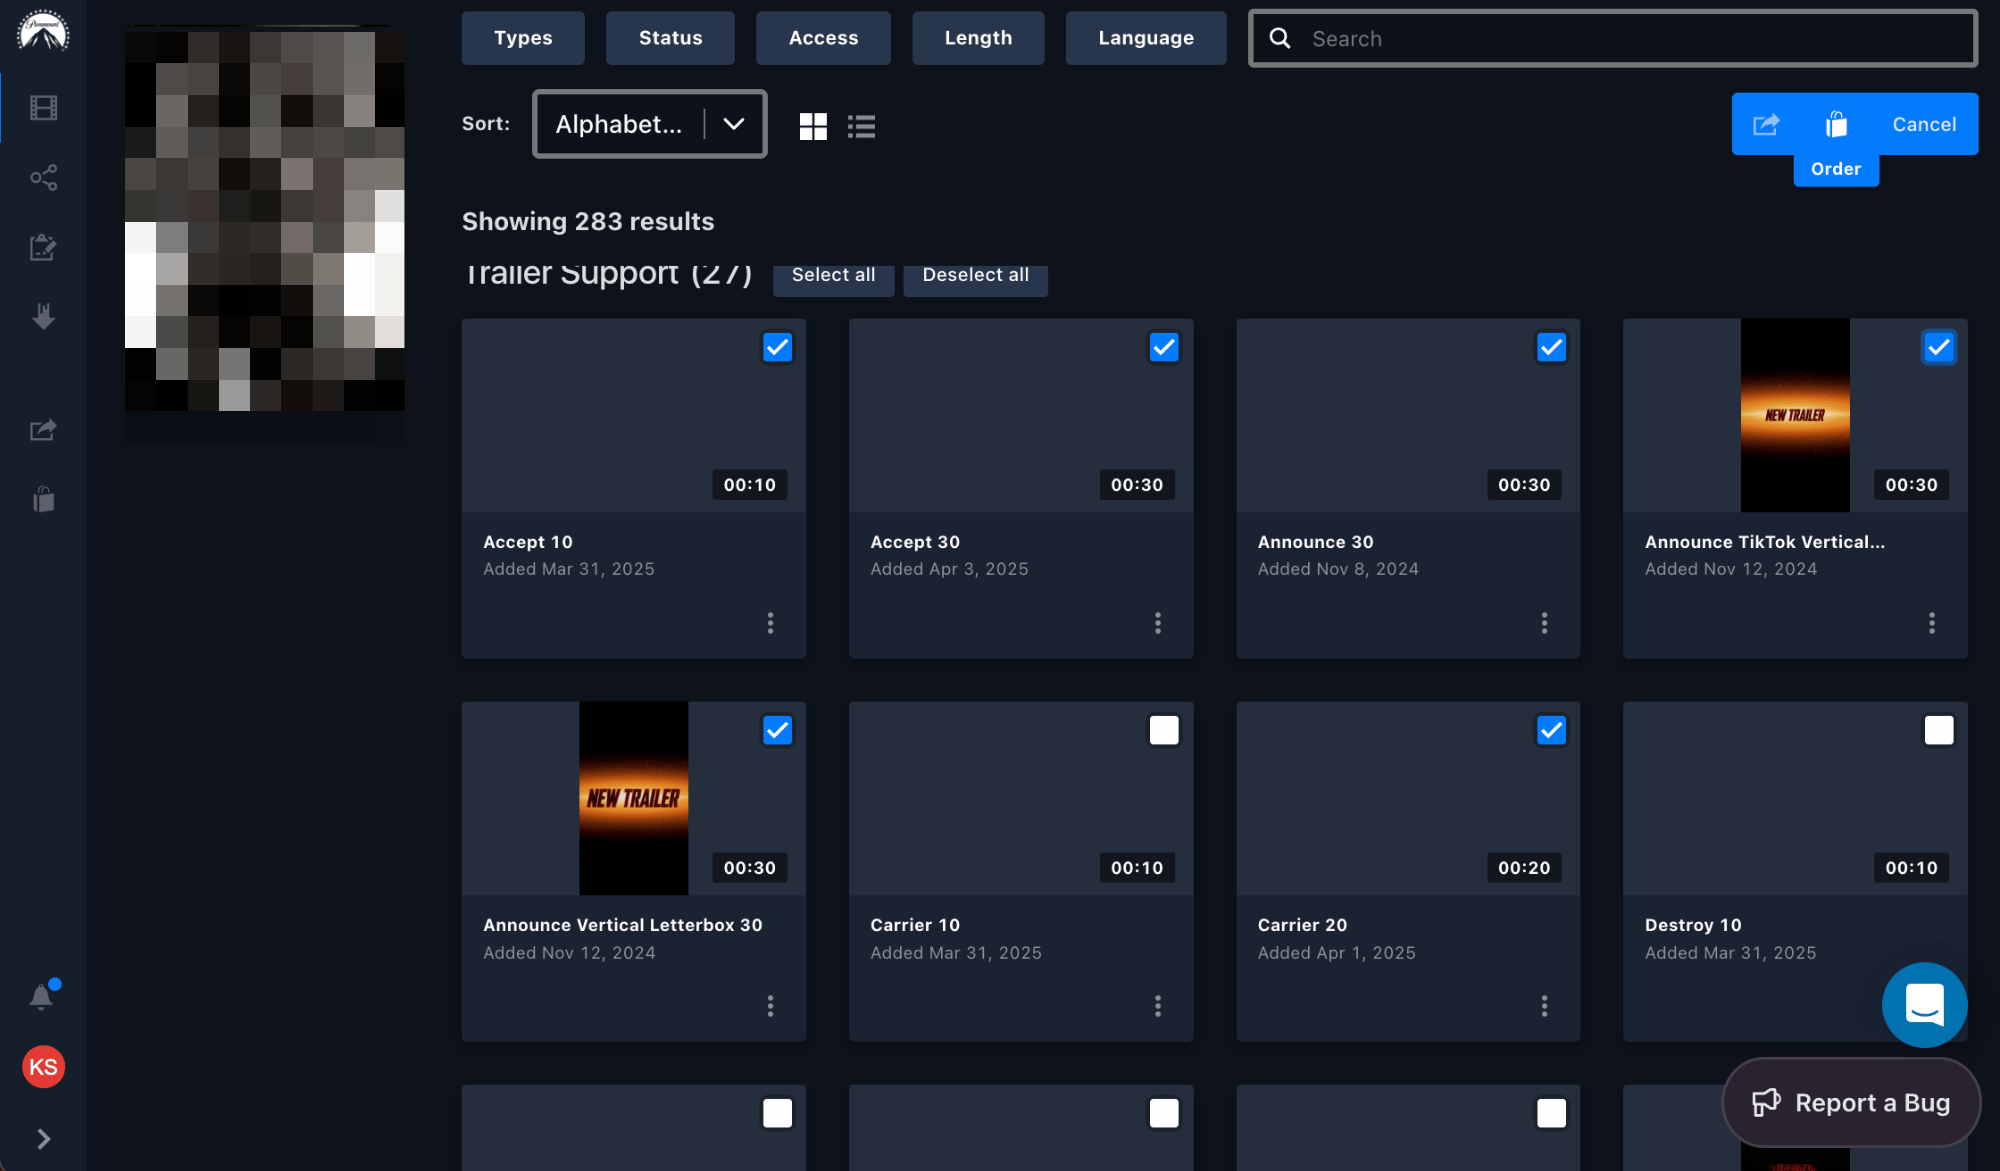
* **Batch select** — add multiple [assets](/features/projects/assets) to your share and order queues at once.
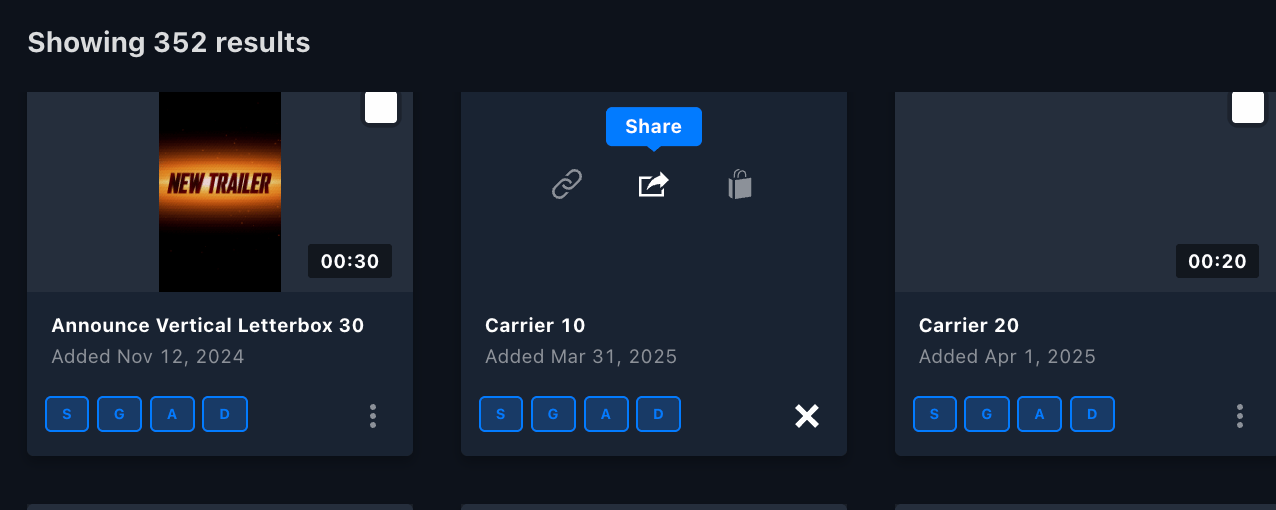
* **Quick actions** — add assets to a queue straight from their thumbnail as you browse.

<Frame caption="Campaign view shows a whole project, grouped by asset type, with filters and a grid/list toggle.">
  <img src="https://mintcdn.com/pixwel/EzZene0sLkTaATKH/img/guides/basic-navigation-1.png?fit=max&auto=format&n=EzZene0sLkTaATKH&q=85&s=c0e6a67a8963f8de525516bff7c54e0c" alt="Campaign view of a project grouped by asset type" width="2000" height="1068" data-path="img/guides/basic-navigation-1.png" />
</Frame>

<Frame caption="List view — a denser layout with smaller thumbnails and more detail per row.">
  <img src="https://mintcdn.com/pixwel/EzZene0sLkTaATKH/img/guides/basic-navigation-2.png?fit=max&auto=format&n=EzZene0sLkTaATKH&q=85&s=bbcfd0d72caaef01085e86cc4aad27a2" alt="List view of assets with rows and quick-action buttons" width="2000" height="1159" data-path="img/guides/basic-navigation-2.png" />
</Frame>

<Frame caption="Batch select assets, then add them to your share or order queues from the toolbar.">
  <img src="https://mintcdn.com/pixwel/EzZene0sLkTaATKH/img/guides/basic-navigation-3.png?fit=max&auto=format&n=EzZene0sLkTaATKH&q=85&s=c68428258cec9c68b1abf313a7158dd6" alt="Multiple assets selected with checkboxes and order/share actions in the toolbar" width="2000" height="1171" data-path="img/guides/basic-navigation-3.png" />
</Frame>

<Frame caption="Quick actions on a thumbnail — share, order, or queue an asset as you browse.">
  <img src="https://mintcdn.com/pixwel/EzZene0sLkTaATKH/img/guides/basic-navigation-4.png?fit=max&auto=format&n=EzZene0sLkTaATKH&q=85&s=c68e86ada6ed6e114994d4cba6489f28" alt="Quick-action buttons on an asset thumbnail" width="1276" height="510" data-path="img/guides/basic-navigation-4.png" />
</Frame>

## Symbols on an asset

Two icons can appear next to an asset to flag restricted access:

| Symbol                 | Meaning                                                                                                                                                             |
| ---------------------- | ------------------------------------------------------------------------------------------------------------------------------------------------------------------- |
| **Lock**               | The file is [embargoed](/glossary) — access is restricted until a release date. See [Downloads](/guides/downloads) for how to tell when, and how to request access. |
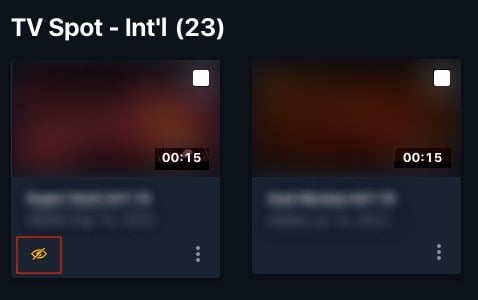
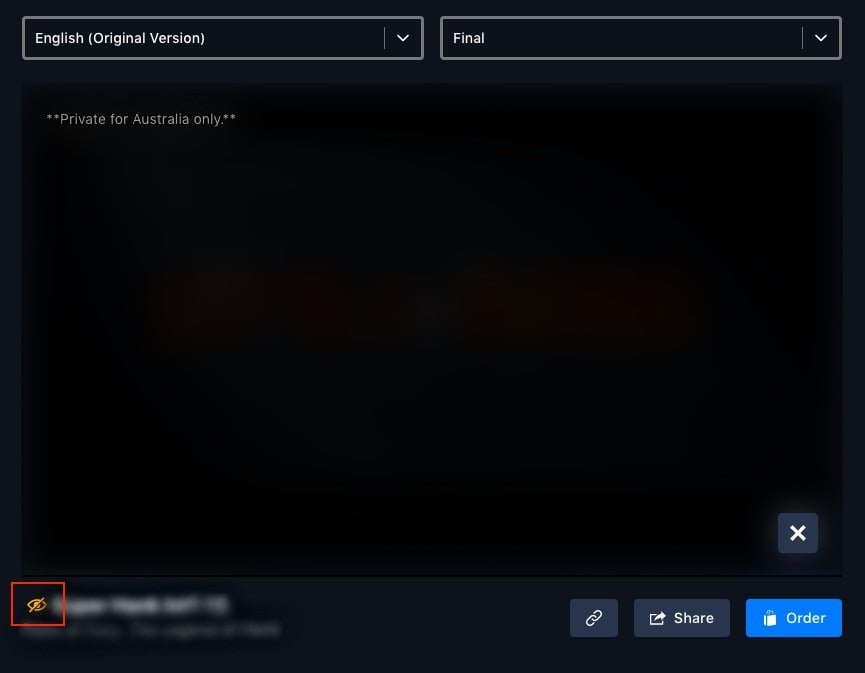
| **Yellow slashed eye** | The asset is **private** and locked to specific [territories](/glossary). Only Head Office, the localization vendor, and the assigned territories can see it.       |

A private asset shows the slashed-eye icon beneath its thumbnail in **project view**, and to the left of its name in **asset view**. Hover the note overlay on the asset to see which territories it's restricted to.

<Frame caption="A padlock means a file is embargoed and not downloadable; a download arrow means it's available.">
  <img src="https://mintcdn.com/pixwel/EzZene0sLkTaATKH/img/guides/asset-symbol-1.jpg?fit=max&auto=format&n=EzZene0sLkTaATKH&q=85&s=d8e1304120e5323433c12d92e912284e" alt="Legend showing the embargoed padlock versus the downloadable arrow" width="655" height="103" data-path="img/guides/asset-symbol-1.jpg" />
</Frame>

<Frame caption="In project view, a private asset shows the yellow slashed-eye icon beneath its thumbnail.">
  <img src="https://mintcdn.com/pixwel/EzZene0sLkTaATKH/img/guides/asset-symbol-2.jpg?fit=max&auto=format&n=EzZene0sLkTaATKH&q=85&s=c201b2c7f4dbdcb122938625ab03fbb0" alt="A private asset showing the slashed-eye icon in project view" width="478" height="300" data-path="img/guides/asset-symbol-2.jpg" />
</Frame>

<Frame caption="In asset view, the slashed-eye icon sits to the left of the name, and the note overlay shows which territories it's restricted to.">
  <img src="https://mintcdn.com/pixwel/EzZene0sLkTaATKH/img/guides/asset-symbol-3.jpg?fit=max&auto=format&n=EzZene0sLkTaATKH&q=85&s=843bc0441b7f14124db872df99781f6f" alt="A private asset in asset view with the slashed-eye icon and a territory restriction note" width="865" height="673" data-path="img/guides/asset-symbol-3.jpg" />
</Frame>

## Contact lists

A **contact list** is a reusable group of recipients you can pull into a [share](/features/shares) instead of typing addresses each time.

<Steps>
  <Step title="Open Preferences">
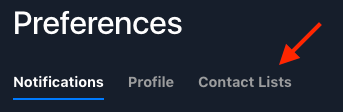
    Click your **user profile** at the bottom-left, then the settings gear (⚙️) to open **Preferences**.
  </Step>

  <Step title="Go to Contact Lists">
    Select the **Contact Lists** tab.
  </Step>

  <Step title="Create the list">
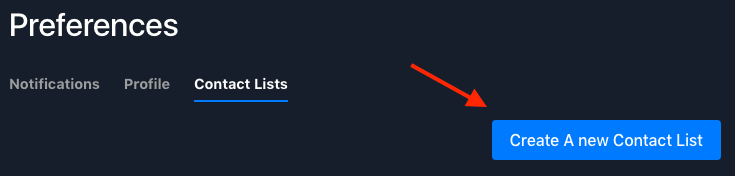
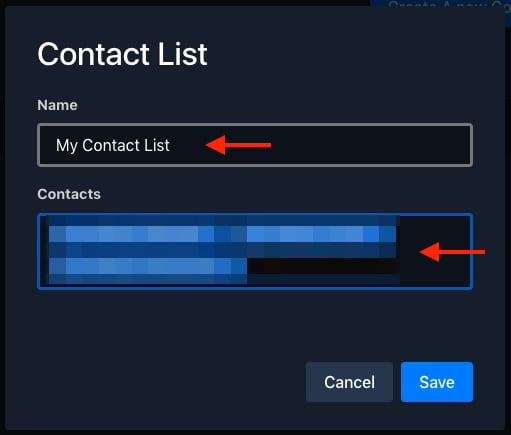
    Click **Create a New Contact List**, enter a name and the contacts, and click **Save**.
  </Step>
</Steps>

<Frame caption="Open your user profile at the bottom-left, then the settings gear to reach Preferences.">
  <img src="https://mintcdn.com/pixwel/EzZene0sLkTaATKH/img/guides/contact-lists-1.png?fit=max&auto=format&n=EzZene0sLkTaATKH&q=85&s=fabdd87f2ffb94be2bd0dac160dca94d" alt="The user profile popover with the settings gear" width="417" height="173" data-path="img/guides/contact-lists-1.png" />
</Frame>

<Frame caption="In Preferences, open the Contact Lists tab.">
  <img src="https://mintcdn.com/pixwel/EzZene0sLkTaATKH/img/guides/contact-lists-2.png?fit=max&auto=format&n=EzZene0sLkTaATKH&q=85&s=ee7ddbf6fef7bbb0a54903ada8b82edc" alt="The Contact Lists tab in Preferences" width="343" height="112" data-path="img/guides/contact-lists-2.png" />
</Frame>

<Frame caption="Click Create A new Contact List.">
  <img src="https://mintcdn.com/pixwel/EzZene0sLkTaATKH/img/guides/contact-lists-3.png?fit=max&auto=format&n=EzZene0sLkTaATKH&q=85&s=ff854562d4f50c82a30b46705e886b45" alt="The Create A new Contact List button" width="735" height="176" data-path="img/guides/contact-lists-3.png" />
</Frame>

<Frame caption="Name the list, add contacts, and Save.">
  <img src="https://mintcdn.com/pixwel/EzZene0sLkTaATKH/img/guides/contact-lists-4.png?fit=max&auto=format&n=EzZene0sLkTaATKH&q=85&s=4a8a9b5c46f6d2ae39cec1508480aa2d" alt="The Contact List form with a name and contacts fields" width="511" height="435" data-path="img/guides/contact-lists-4.png" />
</Frame>

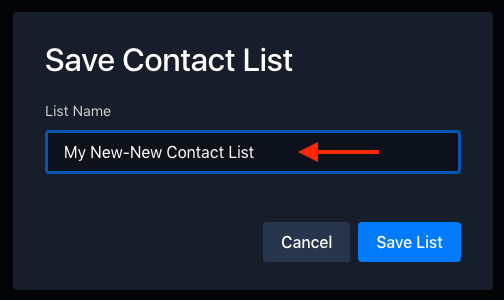
You can edit or delete a list later from the same **Contact Lists** tab. You can also create a list on the fly while sharing: in the **Share Queue**, add recipients, click the save icon (💾) beside the field, name the list, and save.

<Frame caption="Edit or delete a saved contact list from the Contact Lists tab.">
  <img src="https://mintcdn.com/pixwel/EzZene0sLkTaATKH/img/guides/contact-lists-5.png?fit=max&auto=format&n=EzZene0sLkTaATKH&q=85&s=297c4301a5dfe6745e5a34727c506719" alt="A saved contact list with Edit and Delete actions" width="751" height="129" data-path="img/guides/contact-lists-5.png" />
</Frame>

<Frame caption="While building a share, click the save icon beside the Recipients field to save them as a list.">
  <img src="https://mintcdn.com/pixwel/EzZene0sLkTaATKH/img/guides/contact-lists-6.png?fit=max&auto=format&n=EzZene0sLkTaATKH&q=85&s=ec029d71e0043b8da2b99991252a94c9" alt="The save icon beside the Recipients field on the Create Share form" width="816" height="155" data-path="img/guides/contact-lists-6.png" />
</Frame>

<Frame caption="Name the new contact list and save it.">
  <img src="https://mintcdn.com/pixwel/EzZene0sLkTaATKH/img/guides/contact-lists-7.png?fit=max&auto=format&n=EzZene0sLkTaATKH&q=85&s=e0923d683e4f4d5a9ffe137d6a52e6a0" alt="The Save Contact List dialog" width="504" height="300" data-path="img/guides/contact-lists-7.png" />
</Frame>

## Getting help

For when the team is available and how to reach them, see [Support](/support).
