

Basic navigation
A few features make moving through the platform fast:- Instant search — start typing and matching results appear in real time.
- Campaign view — see an entire project at once. All asset types show by default; search and filter to customize the view.
- List view — a denser layout with smaller thumbnails and more detail per row, if you prefer lists to tiles.
- Batch select — add multiple assets to your share and order queues at once.
- Quick actions — add assets to a queue straight from their thumbnail as you browse.
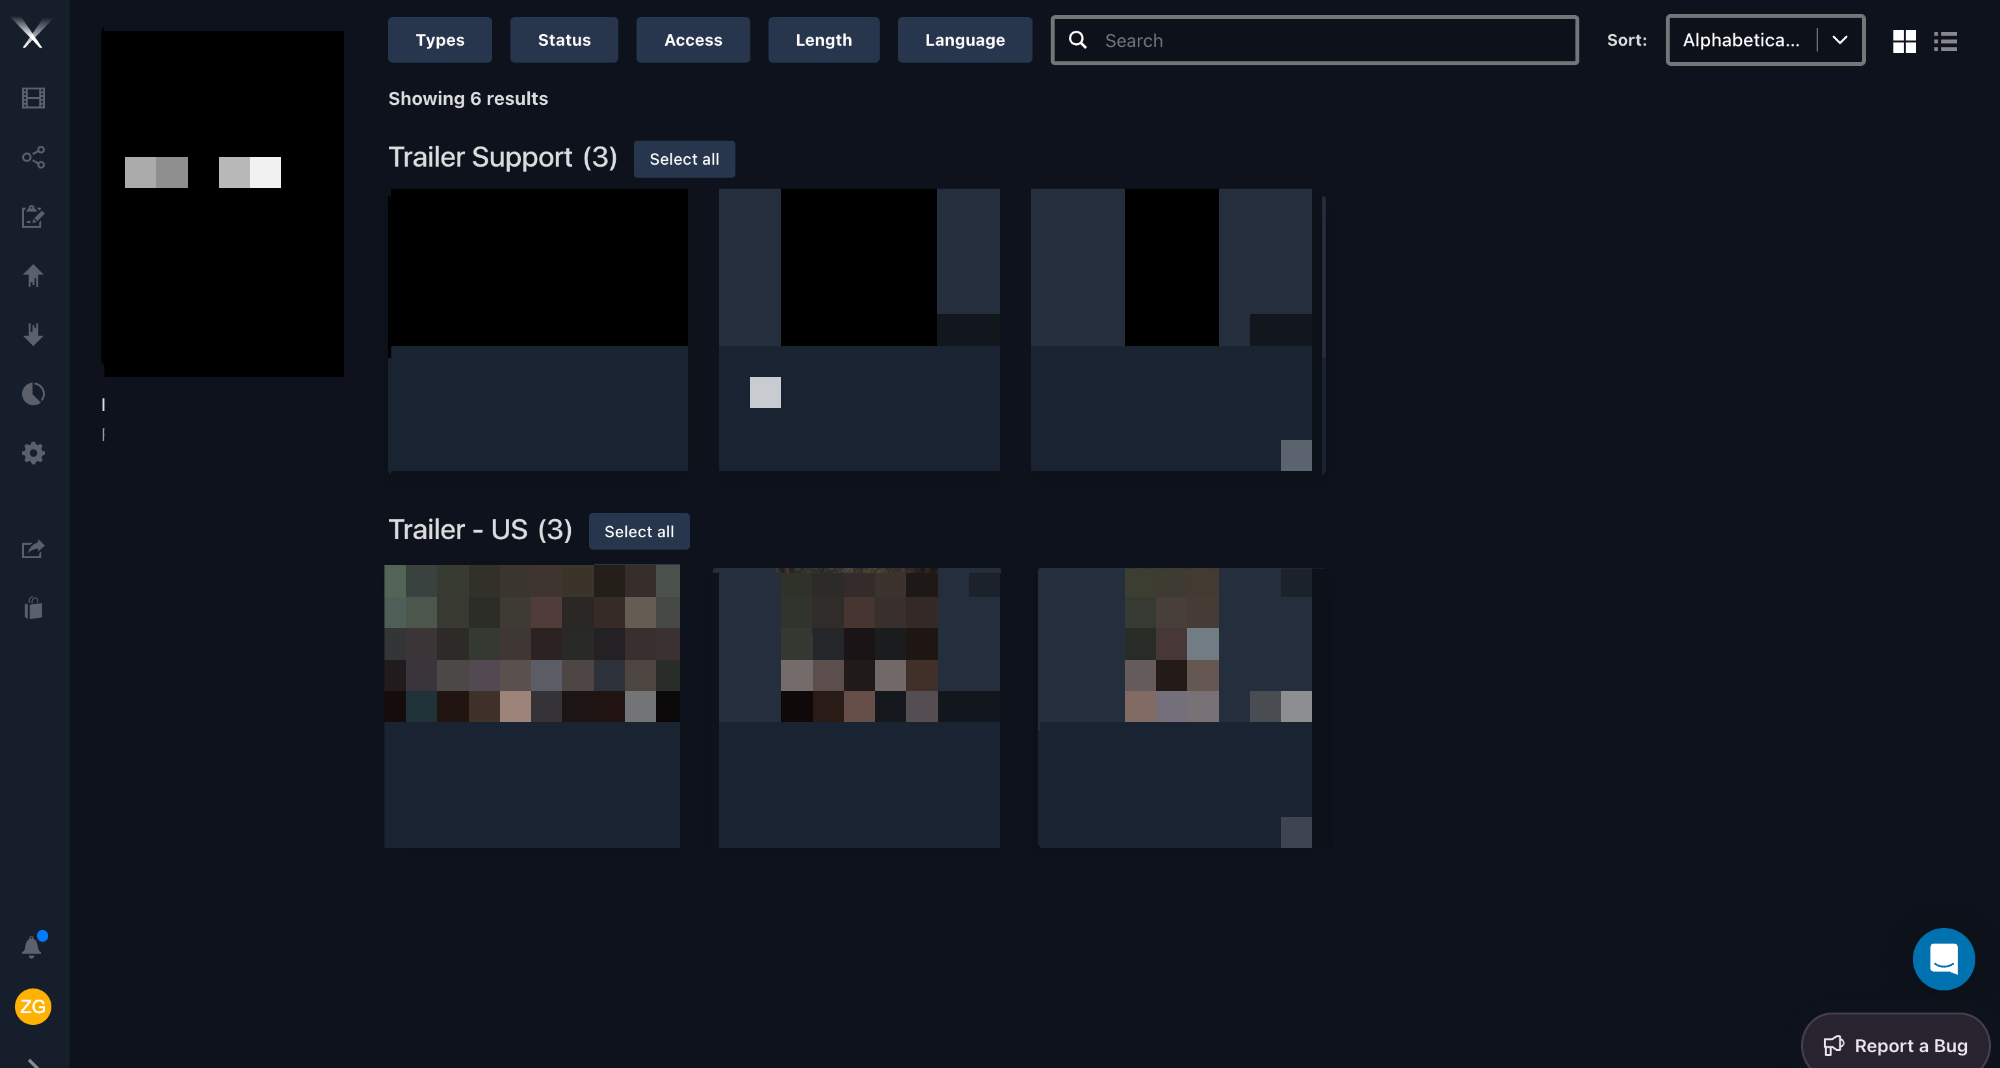
Campaign view shows a whole project, grouped by asset type, with filters and a grid/list toggle.
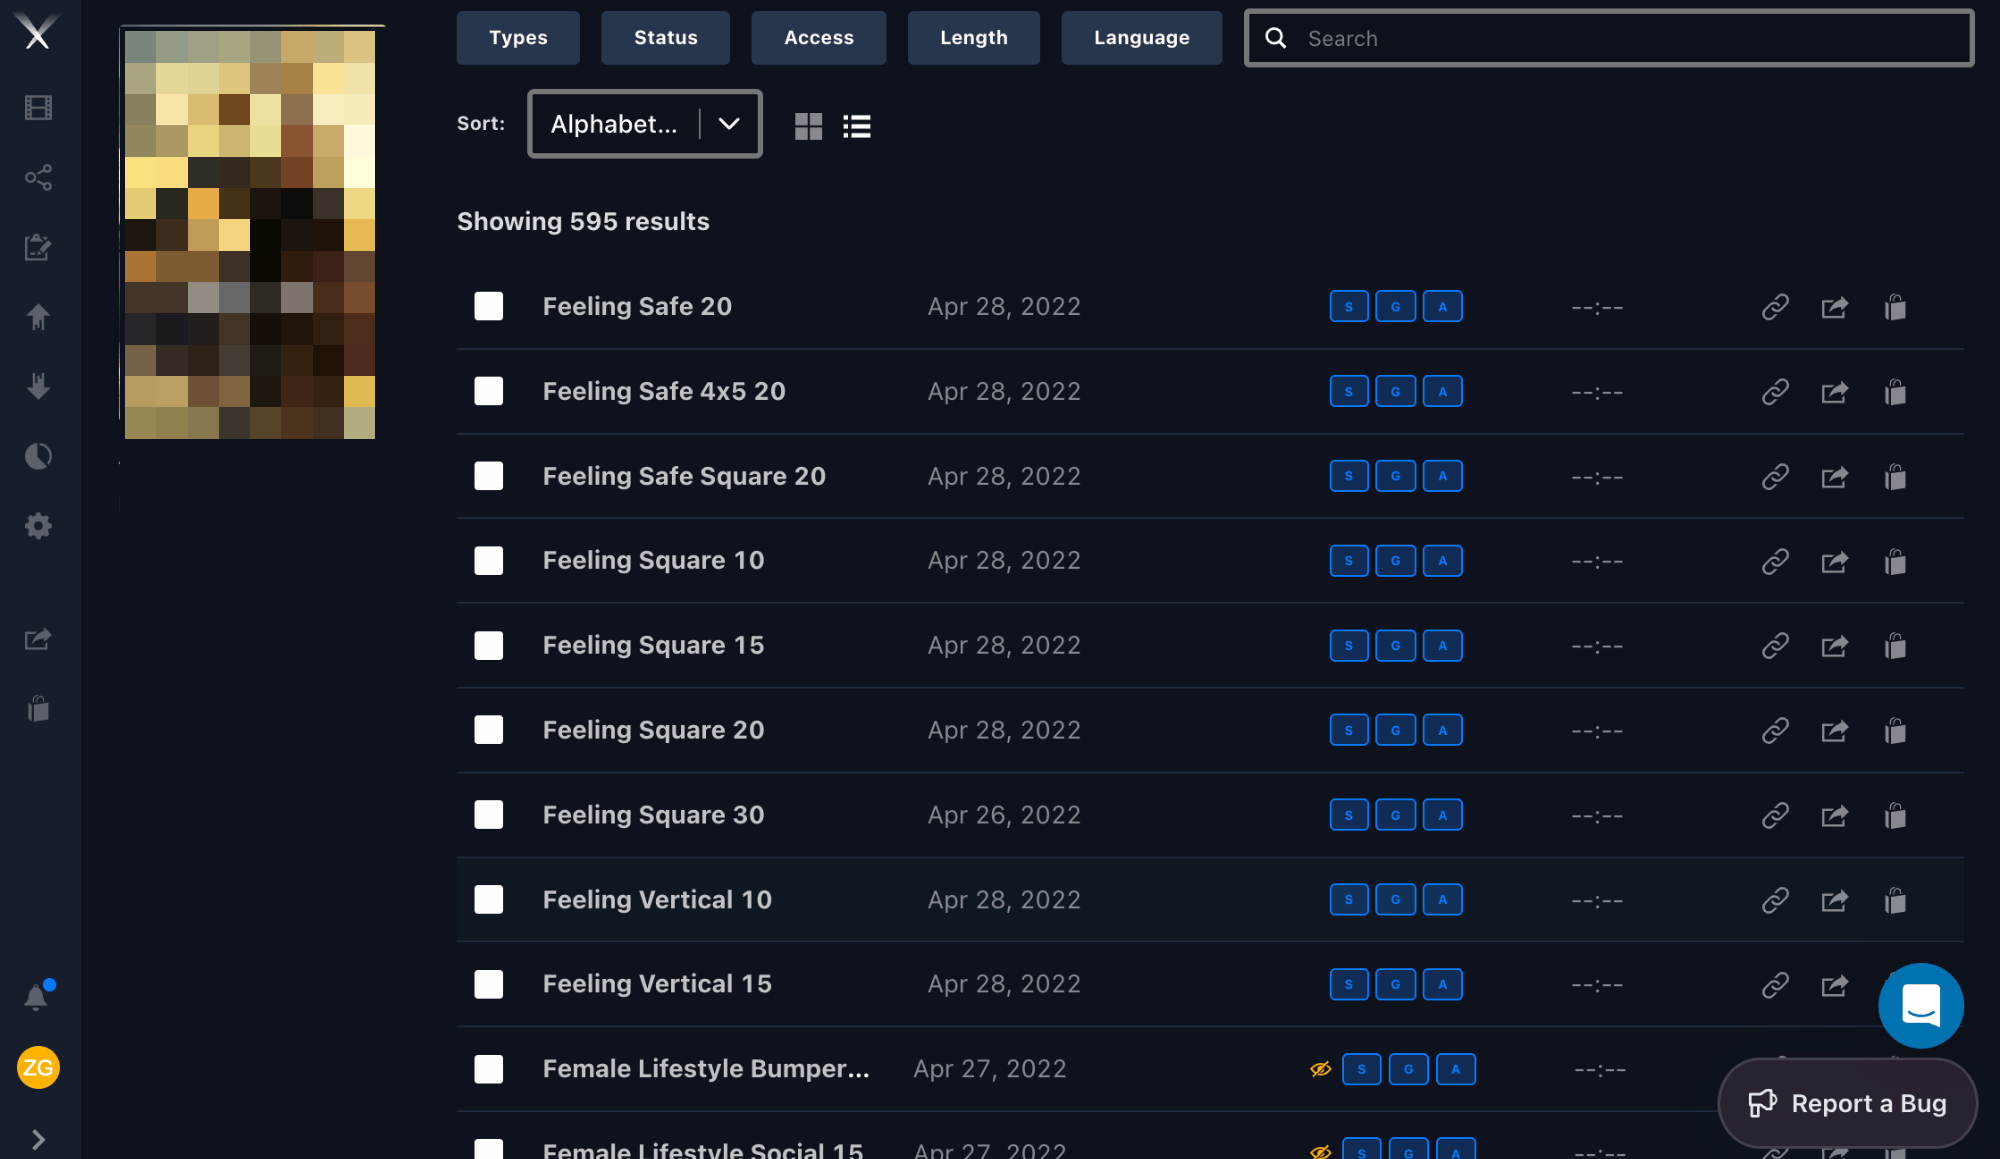
List view — a denser layout with smaller thumbnails and more detail per row.
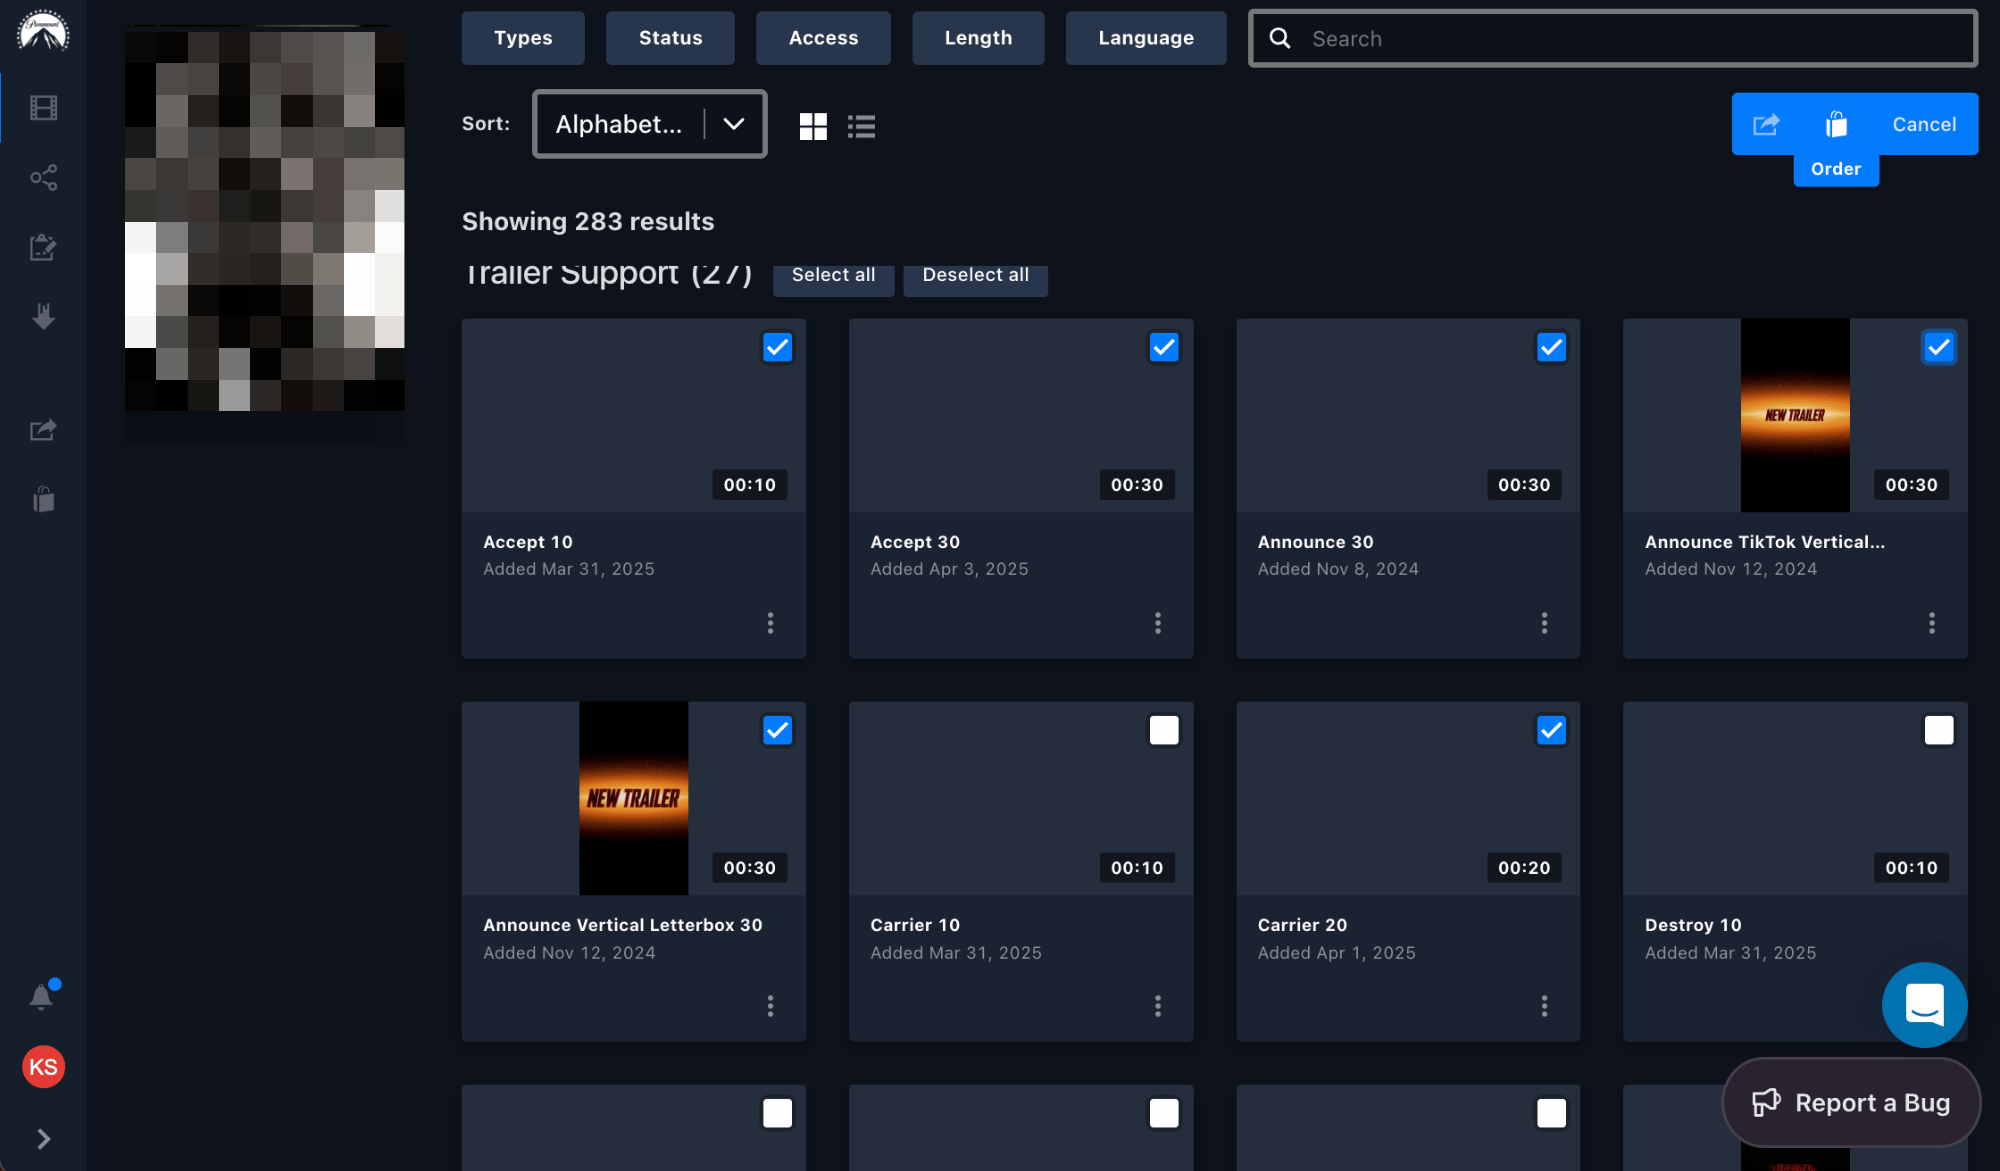
Batch select assets, then add them to your share or order queues from the toolbar.
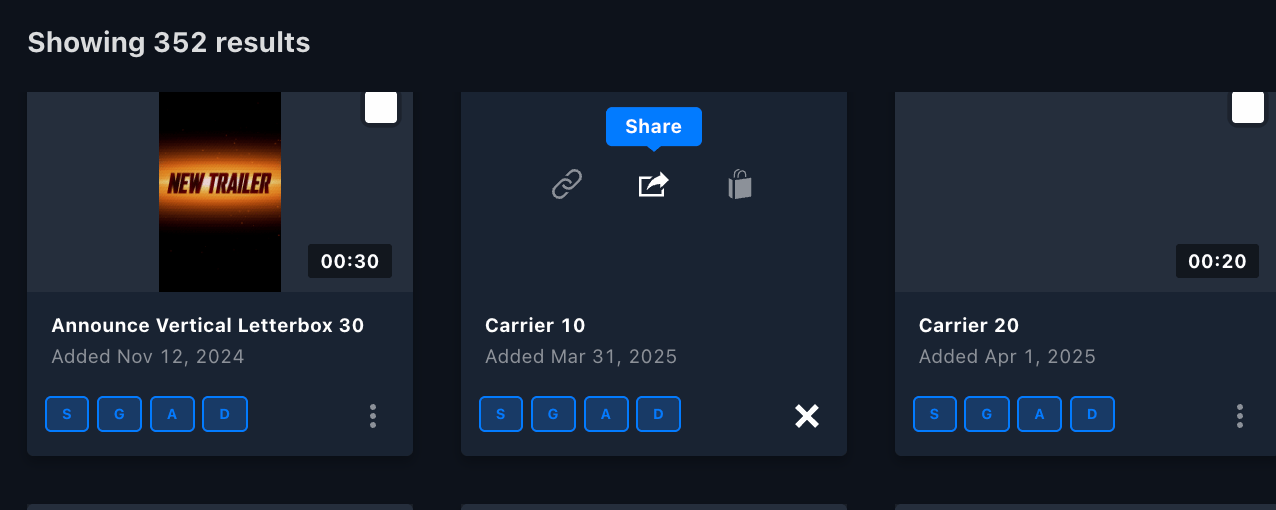
Quick actions on a thumbnail — share, order, or queue an asset as you browse.
Symbols on an asset
Two icons can appear next to an asset to flag restricted access:
A padlock means a file is embargoed and not downloadable; a download arrow means it's available.
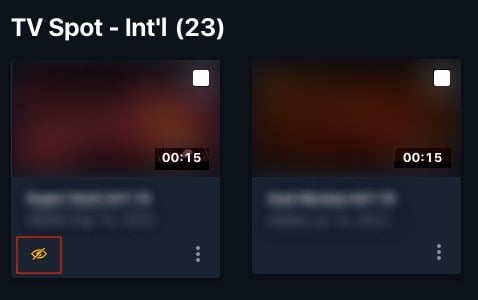
In project view, a private asset shows the yellow slashed-eye icon beneath its thumbnail.
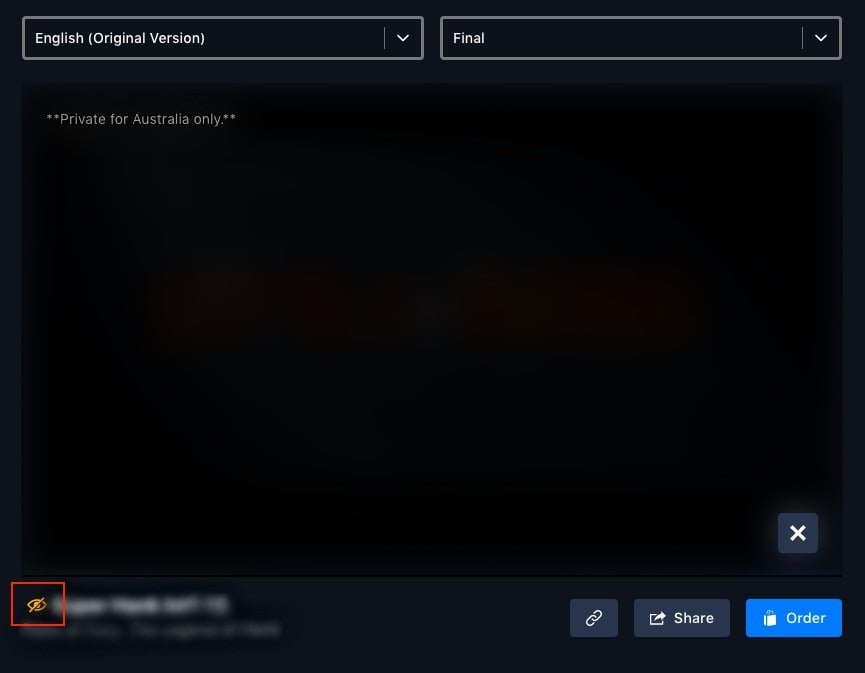
In asset view, the slashed-eye icon sits to the left of the name, and the note overlay shows which territories it's restricted to.
Contact lists
A contact list is a reusable group of recipients you can pull into a share instead of typing addresses each time.Open Preferences
Go to Contact Lists
Create the list
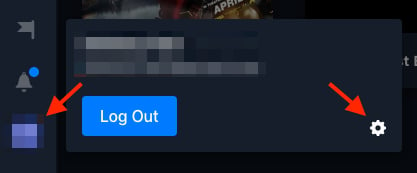
Open your user profile at the bottom-left, then the settings gear to reach Preferences.
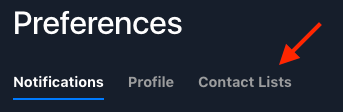
In Preferences, open the Contact Lists tab.
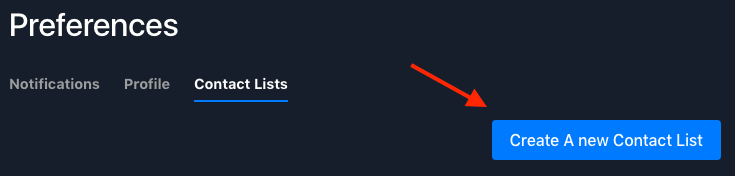
Click Create A new Contact List.
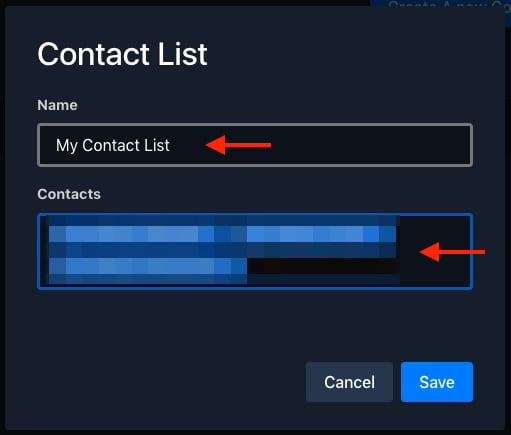
Name the list, add contacts, and Save.

Edit or delete a saved contact list from the Contact Lists tab.

While building a share, click the save icon beside the Recipients field to save them as a list.
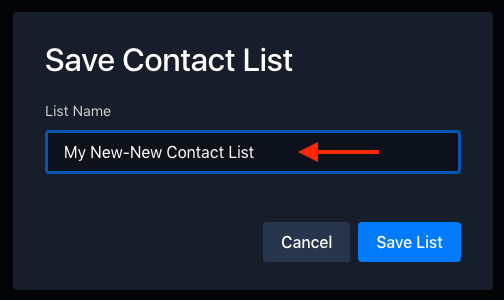
Name the new contact list and save it.